
How Crypto Wallets Work
Kuma from KIRAPAY
Before sending or receiving crypto, you need a wallet. Setting one up is straightforward — and understanding a few core concepts will help you use it safely.
The Three Components Every Wallet Has
Public Address — Like a bank account number. Share this freely to receive funds.
Private Key — Like your PIN. Never share this with anyone, under any circumstances.
Seed Phrase — 12 or 24 words that let you restore your wallet on any device. Back this up securely.
🚨 Never Share Your Keys Anyone with your private key or seed phrase has complete, immediate control over every asset in your wallet. No legitimate platform, support agent, or service will ever ask for either. If someone does — it is a scam, without exception.
Choosing the Right Wallet Type
Crypto wallets exist in several forms depending on how you access funds and how much security you need. Browser extension wallets connect easily to Web3 apps on desktop, while mobile wallets are designed for quick payments and QR scanning. Some wallets are also blockchain-specific and work best with certain networks. Selecting the right wallet improves both payment reliability and overall security.
Wallet Types Comparison
Wallet Type | Best For | How It Works | Security Level | Example Wallets |
|---|---|---|---|---|
Browser Extension Wallet | Desktop users, Web3 apps, checkout payments | Installed in browser and connects instantly to websites | Medium–High | MetaMask, Brave Wallet, Coinbase Wallet Extension |
Mobile Wallet | Everyday payments, customers paying from phones | Runs as a mobile app with QR scan and deep-link support | Medium–High | Trust Wallet, Phantom, Coinbase Wallet |
Hardware Wallet | Businesses, long-term storage, large balances | Physical device storing keys offline; requires manual approval | Very High | Ledger, Trezor |
Multi-Signature Wallet | Companies, shared treasury management | Requires multiple approvals before funds move | Very High | Safe (Gnosis Safe), BitGo |
How to Choose Quickly
If you mainly use crypto on your laptop and connect to payment links or Web3 apps, a browser extension wallet is usually the simplest option. If you pay frequently from your phone, a mobile wallet offers the most convenience and fastest checkout flow. For storing large business funds or treasury balances, a hardware wallet provides the strongest protection. Teams handling shared funds should consider multi-signature wallets to prevent single-person access.
Here will be Setting Up MetaMask (Step-by-Step) for example
NOTE: You can choose any wallet as per your requirement.
Go to metamask.io and install the official browser extension (Chrome, Firefox, Brave, or Edge)
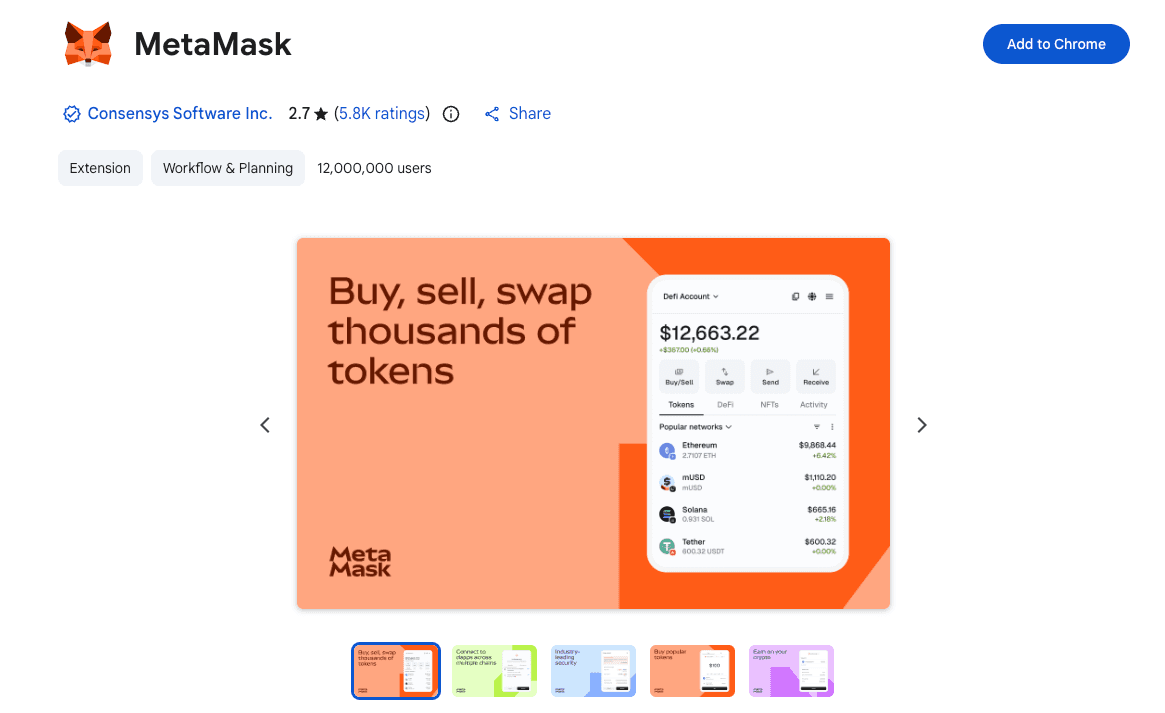
Click "Create a new wallet" and set a strong, unique password
Write your 12-word seed phrase on paper — never screenshot it or store it in any app or cloud service
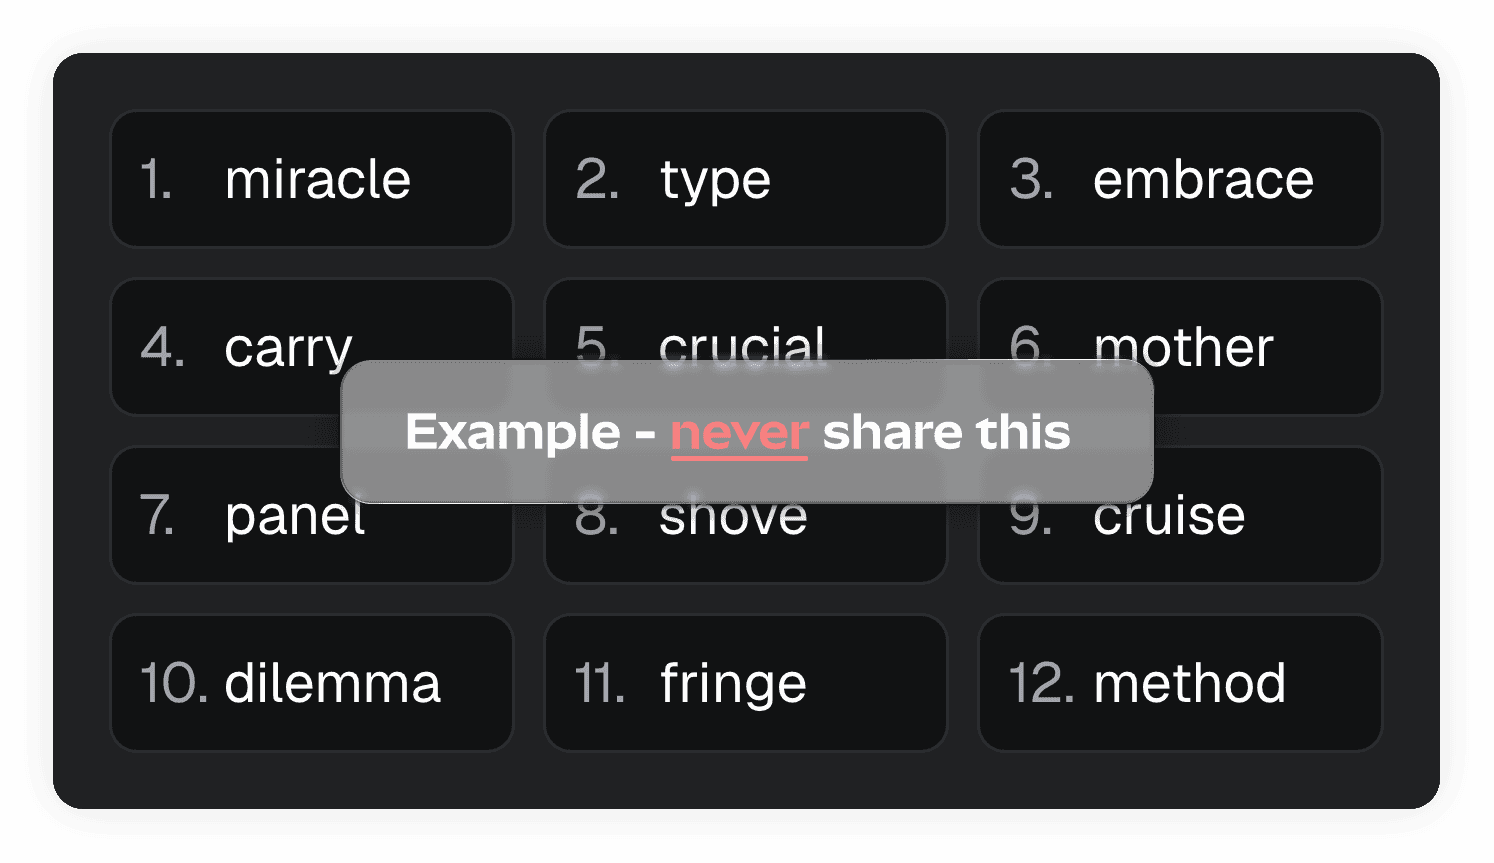
Confirm the seed phrase when prompted to verify you recorded it correctly
Your wallet is live — your public address appears at the top of the MetaMask popup
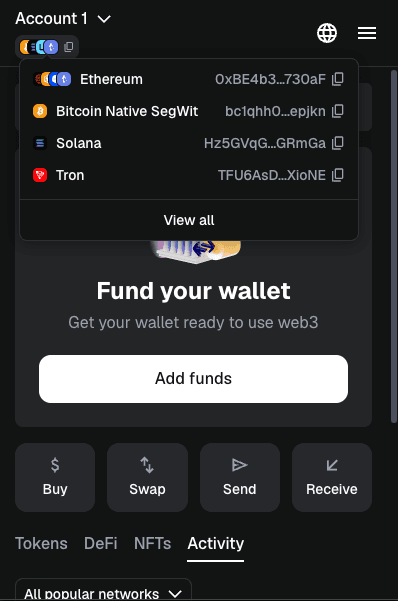
Understanding Wallet Addresses
A wallet address is a string of letters and numbers that uniquely identifies a destination on the blockchain. An Ethereum address looks like:
0x71C7656EC7ab88b098defB751B7401B5f6d8976F
Always copy-paste addresses — never type them manually
Verify the first and last 6 characters after pasting before confirming any send
Different blockchains use different address formats — confirm you're on the correct network
💡 For Merchants
KIRAPAY handles all wallet connection complexity on your customers' side. You provide your settlement wallet address once during onboarding — from then on, payments arrive automatically.
How to Verify Transaction Details Before Sending
Before hitting confirm on any transaction, take 30 seconds to check these details in your wallet. Most crypto losses are preventable at this exact step.
In your wallet's confirmation screen, verify:
1. Network
Confirm the transaction is going out on the correct blockchain. MetaMask shows this clearly at the top of the confirmation screen. If it says Ethereum but you intend to send on Polygon, stop and switch networks first.
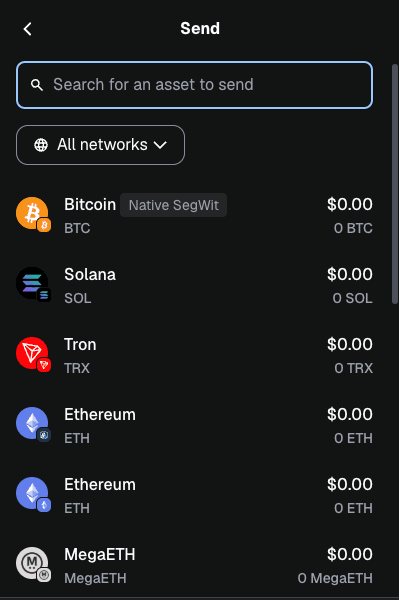
2. Destination Address
The full address should match what you intended. At minimum, check the first 6 and last 6 characters — character-by-character. Don't just glance.
⚠️ Clipboard Hijacking
Malware can silently replace a copied address with an attacker's address the moment you paste. Always re-read the address in the confirmation screen — never assume the paste was clean.
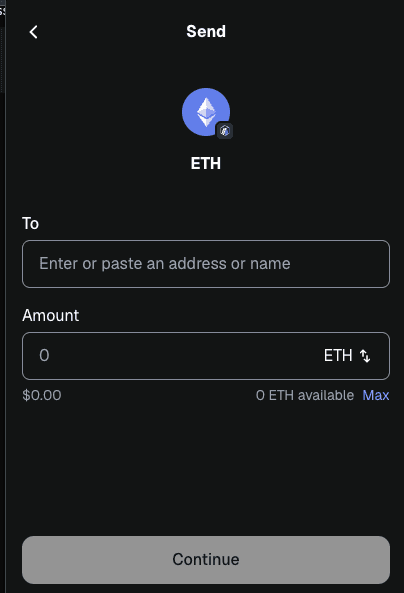
3. Amount
Verify the token and the amount match exactly what you intended to send. Check both the token name (e.g. USDC, not USDT) and the number — fat-finger errors on amounts are common and irreversible.
4. Gas Fee
Review the estimated gas fee before confirming. On congested networks, fees can spike significantly. If the fee looks unusually high:
Wait and try again during off-peak hours
Consider switching to a lower-fee network (Base, Polygon, or Solana) if the recipient supports it
5. Total Cost
The confirmation screen shows your total outgoing amount — payment plus gas. Make sure you have enough balance to cover both. A transaction that runs out of gas mid-execution still consumes the fee and fails.
Quick Pre-Send Checklist
Check | What to Look For |
|---|---|
Destination address | First 6 and last 6 characters match exactly |
Network | Correct blockchain selected (e.g. Ethereum vs. Polygon) |
Token | Right token name — not just the right amount |
Amount | Exact figure you intended |
Gas fee | Reasonable for current network conditions |
Total balance | Enough to cover payment + gas combined |
🚨 If Anything Looks Wrong — Stop
Close the confirmation screen, don't confirm. It is always safe to cancel a transaction before signing. Once you hit confirm and the transaction goes on-chain, it cannot be reversed by anyone.